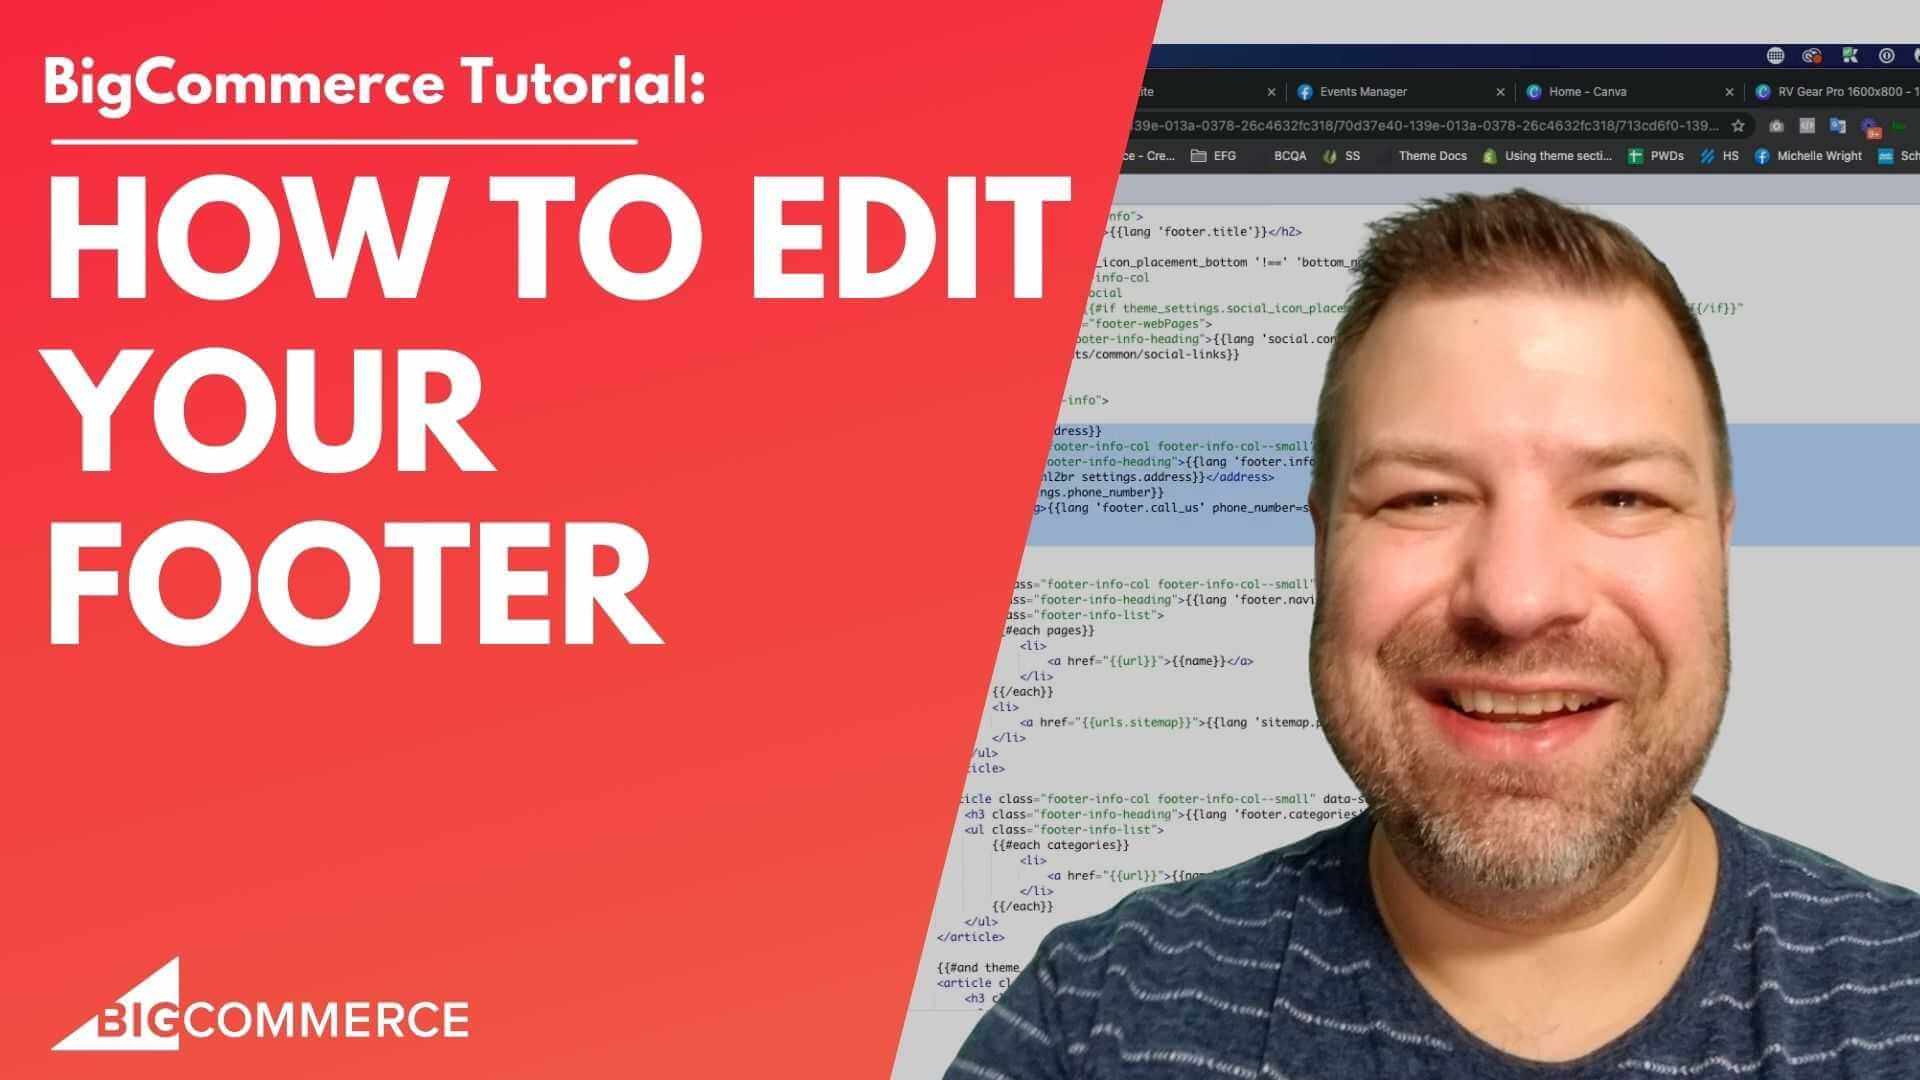
How to Edit the Footer in BigCommerce
Jan 14, 2023

How to Edit the Footer in BigCommerce

In the bustling realm of e-commerce, every pixel on your website counts. From the welcoming hero image to the concluding footer, each segment plays a pivotal role in shaping the user experience and driving conversions. Amidst these components, the website footer often gets sidelined, even though it's a golden opportunity to enhance navigation, amplify SEO, and drive user actions. Kal, a seasoned, BigCommerce store developer and a bigcommerce store owner, is here to guide you through the intricacies of optimizing your own BigCommerce store footer.

Before we delve deep, let's introduce our mentor for the day. Kal isn't just your regular developer; he's also a former online store and owner, offering him a unique blend of technical prowess and practical e-commerce insights. Beyond his personal ventures, he leads a thriving community for online store owners named 'E-commerce Growth.' Here, he regularly shares videos on diverse e-commerce subjects. If you're keen on refining your online store's strategy, Kal is your go-to expert at our BigCommerce Development Agency.

Unpacking the Tutorial: What to Expect

Kal's video is more than just a tutorial; it's a masterclass on editing the BigCommerce footer. Here's a snapshot of what you'll learn:

  • Understanding the Basics: Get familiar with the foundational structure of a footer, especially using the Cornerstone theme.

  • Dynamic vs. Hardcoded Links: Kal demonstrates how to edit both types of links, ensuring you have the flexibility to customize as per your brand's needs.

  • Page Builder Regions: For those wary of coding, Kal introduces the drag-and-drop feature of Page Builder, making footer editing a breeze.

  • Custom Menus: Learn how to introduce and edit custom menus in your footer for enhanced navigation.

  • Real-time Editing: Through screen-sharing, witness live edits and understand the impact of each change.

Your Next Steps: Elevating Your E-commerce Strategy

Kal's dedication to e-commerce is palpable throughout the video. His methodical approach and lucid explanations ensure viewers gain a robust understanding of ecommerce entrepreneurs. But this video is merely a starting point. Kal's commitment to fostering e-commerce success extends to his invitation for ecommerce entrepreneurs to join the E-commerce Growth community at JoinEcommerceGrowth.com. Here, a plethora of resources await budding e-commerce enthusiasts.

Don't wait! Click to watch the video above and embark on your path to e-commerce mastery with Kal's expert guidance!

Hey there, are you trying to edit your bigcommerce store or commerce footer? In this video, I'm going to show you a couple of ways how to edit your bigcommerce and how to edit your footer on bigcommerce to do just that.

Before we get started, my name is Kal, and I'm a BigCommerce developer and a store owner just like you.

And I also run a private community for store owners and bigcommerce, called E-commerce Growth.

And every week, I post answers and answer more videos related questions about e-commerce.

So if you find a post or this post this one helpful, give me a like, subscribe, and hit the bell.

And you'll probably see more just like this, except for other topics in e-commerce.

Alright, let me share my screen.

And I'm going to show you guys a couple of ways to edit your footer on Big Commerce.

So I have this theme here; it's running just cornerstone the left side, and we have a super basic footer at the bottom.

And I'm going to show you how to edit this.

First of all, your footer, depending on your theme, can be made up of a couple of different dynamically populated menu columns.

And this one is right.

So it is showing right now in the Pages menu right here.

And this is pulling from storefront web pages—all this green stuff in here.

So for shipping returns, contact our site or blog; for shipping returns, contact our website address or guest blog.

So as you can imagine, if you go into the view web pages menu, you know, you push some things up or down.

Maybe create some things; it's going to affect the footer, of course, because I also have those pushed into the top navigation, which is probably going to affect my top navigation too.

So you kind of have to be careful when doing that.

But if it works out, that's your bottom category; your bottom web pages and structure match your menu, and that's great.

The next column here shows my categories, which match my post and categories up here.

And again, if that's okay to match, great; if not, we're probably going to have to do something different. When I first turned on the cornerstone theme, there was another category here for brands; I think I don't have any brands loaded.

So that disappeared dynamically.

But you may be seeing brands, and you may even be seeing a couple of other columns that maybe you need to take out or replace with something, and you just don't know where to find them.

Let me show you.

So, in the back end, we're going to go to the storefront, my themes, and I'm running the untouched version of Cornerstone, which you can't edit.

So I'm going to have to make a copy.

So let me click Make a copy.

And this is going to take just a minute to duplicate the theme.

And then I'm going to apply the theme and make it live so that I will effectively be running the copy, not the original, and that's going to let me edit it, right?

So give this just a minute.

How are you guys doing? How's your cat? I wish I had a cat, but my wife won't let me get one.

I know, right? A grown man can't get a cat.

The things we learned while watching YouTube

Alright, it's done.

So we're going to click on apply. I'm going to stick with the live version of this theme.

And so now we have the untouched version here in my archives.

And we are currently running the cornerstone copy that I made.

time_to_edit_theme_files">Time to edit theme files

So now we can go to Advanced and edit theme files.

Now, if you're running a different theme, it may be different than this.

But Cornerstone is Bigcommerce's flagship theme; they put it out there so that all the developers and the theme manufacturers, or whatever you call those people, have a benchmark, and so as a result, most of the themes out there are going to follow, you know, the same kind of practices that Cornerstone does.

So chances are, even if you're not running this theme, it may still be the same for you.

So let's find the footer file. We start out on the home homepage file, which is irrelevant to our task right now; we're looking for the footer.

So we're going to find that under templates, components, and common footer dot HTML.

And when we get in there, we'll see, first of all, a big block of code where it's outputting our marketing's better bottom onto the page, hopefully.

So we're going to skip over that; that's not what we're looking for.

We're looking for this stuff here, inside this footer.

So we can see that we have a title and a container here, and then we go into some of these in this section.

This section has an article.

And if you look inside these articles, this one goes through all the pages.

This one goes through all the categories.

This one goes through the brands.

This one outputs our website address in the footer.

And this one page goes in and shows the payment icons.

Now I haven't put in an address.

So let me just go ahead and do that.

So you guys can see that show up.

That's going to be under store setup Store Profile.

And I'm going to say 123 Main Street.

Where should I say that up front? I'm going to say Portland, Oregon.

I'm not very inventive today.

Let's see here.

So the phone is optional.

Put in just a fake phone number.

Click Save.

If I go back to my front end and refresh, I think it's going to show. Yep, it's showing right here.

But you know, on every site I ever see, I always see the address and whatnot on the far, left side or right, not in the middle of the footer, for goodness sake.

So let's change that.

Let's go into the footer HTML.

And let's find the article where we had our address, which is right here: address, phone number, etc.

And I'm going to take everything here in this clump, this whole if statement, and I'm going to copy that to my clipboard.

And I can either delete this or I could hit what is this command, slash, or I think it's Ctrl slash on a PC to comment that out.

And I'm going to go up to the top here right before this first article. I'm going to create a space, paste it in here, and I'm going to click Save.

And so what we are effectively doing is just reordering these to put the address column first.

Take a second here; this has been recorded live, so you guys are waiting while I'm waiting.

The theme editor can take a couple of seconds.

All goal development, which I'll show you guys in your video, is a lot more technical, but it is so much faster.

Alright, so if I go back to the front end and refresh, you can see we successfully moved our info column to the first spot.

Now, you know, I like that, so I put my address here.

I like that you put my phone number—my fake phone number.

But maybe I don't want this stuff in Navigate to perfectly resemble my dynamic menu.

So let's edit that next post.

So we go back into the footer dot HTML file.

And here's where we put our address.

And this very next article is the one that has the pages looped in it, right? Say we want to take out this sitemap, for example.

We could comment on that.

And I will recommend commenting stuff out by default instead of just deleting it because you may want to come back and find your link to the sitemap, you know, so comment it out.

And you can save it for later, like a snack.

Now, this right here is our page loop.

So this code says that for each of the pages of the menu system, create a list item with its name and URL.

So this is how the dynamic links work.

And so if you don't want this to be dynamic, what we're going to do is we're going to just paste in a list item, and I just pasted in the sitemap one; we're going to take out the sitemap guts; we're going to take out the href value; and we're going to take out all these curly brackets that pull in the sitemap name.

So we have just an empty sitemap like this.

And I'm going to create a couple of those.

And I'm going to say I'm going to go into each one of these, say this is called link one.

This next one is called the link to the certificate.

I think we're going to go with Link 3.

This one is going to be link five.

All right, and you know, just to save some time, I'm going to just point all of these to the same href value, which is slash categories.

Clearly.

If we're hard-coding this, we can point it to whatever URL you want, but it's late, and I want to show you guys how to do this.

So we also need to take out the page's dynamic menu.

And so I'm going to highlight this whole section.

And again, I'm just going to comment on that.

I will go back here and delete things sometimes if commenting doesn't post upvote effectively take out everything, but I always try to comment as much as possible.

And commenting, if you're not familiar with it, just means that you're taking active code and saying it's a comment instead of active code, which effectively deactivates it.

And that's exactly what you saw me doing with the command slash, man.

Alright, so save this; I'm going to go back to the front end.

Sometimes, when you click refresh, it can take, you know, a couple of seconds to apply the new theme change.

But as you can see, when I did that, we had all of our links, one through five, missing before right here.

Now, what if we wanted to change this navigation link? Well, let's go back to that same spot.

Now, right here.

It's saying that within this h3 that's associated with log in with these links, it's going to call the log file and look for something called a footer to navigate the log in.

Let me show you guys how to find that up here in the length file and the length folder.

There are all these different language variables; you may have all of them, you may have less, or you may have more.

Most of the time, people are using the English version or site of their site.

So I'm going to show you guys where to find this in the English version.

And the reason that this Lang file is useful is that maybe you want to have a couple of different languages on your file, and maybe you want to have English, French, and Spanish.

Well, having that same variable be located in each of those language files means you could have the Spanish version of navigate in there or the French version of navigate; you can pull it up, depending on what language people are in.

If we want to just hard code over this, like if we want to just say, you know, just say browse instead of whatever this language variable is, that's fine.

But it's going to say browse, no matter what language people have selected.

So it's up to you which way you want to go.

You can create new language variables here if you want.

But if you create a new one, then you have to create it in all of the other languages that you're going to use as well.

So keep that in mind.

So I'm going to show you both methods.

To find this right here, we're going to go to the English JSON file.

So eat in dot JSON.

And I'm going to just do a search because there's so much stuff in here and do a search for the footer. You can see that it showed showing one of two, so it found the footer twice on here.

And if I cycle through it, it's actually like this one right here.

So to find this variable, which says footer dot navigate, it's going to be a footer, and then look at the sub-items for navigate.

And so when you save Lang footer dot navigate, it's saying, Actually, just get this right here.

So for example what you could do is just change this to say browse and apply it like that.

I am going to fix 1020 seconds for the Big Commerce Theme Editor to save.

But then, when we come in on the front end and click refresh, it changes it to browse just like that.

So let's kind of have the language variables work.

But again, you could just hardcode over it like that.

If you do that, you're going to want to take this language variable out so that it's not showing it twice on screen.

In the right section, I did not do that.

So I'm going to come in command Z, come back here, and go to the right section.

Oh, embarrassing.

I recorded that.

Alright.

So here's my new browse title.

Now if we want to do the same thing with categories, we certainly can create hard-coded icons and list items, replace this right here with that, for example, or maybe you want to leave the categories dynamic.

It's up to you.

And you know, that's basically how you edit the footer.

And I do want to show you one more way before you go, which is that if you're looking at this and you're going, this is kind of complicated, you know, and it's great if I figure this out once, or it's great if I have a developer do this for me.

But how am I going to remember to do this again?

Don't worry, there is a better way, and the better way is called regions.

Let me show you how this works.

I'm going to copy something in here.

So instead of having this dynamic menu and instead of hard-coding these, what I'm going to do is, I'm actually going to take this whole unordered list and comment the whole thing out.

And I'm going to paste this region in here.

And I'm going to call it a footer, underline categories, and dash global.

Alright.

And what this does is put a new region into your footer, which is like a blank hole, if you will, for a widget to be used.

So I'm going to just save that, and then we're going to look and see what the heck that means.

If you're unfamiliar with the Page Builder, a page builder is a big commerce drag-and- drop widgets utility where you can take widgets that are installed in your store and drag them into regions wherever those regions exist.

And so that is saved.

Let's go into storefront my themes, and then customize to see the Page Builder, slash customizer, whatever you want to call this thing.

Now we come in on the Design tab screen. By default, you click on Preview, which takes away all of the widgets and icons from your view but also makes all the icons and the links clickable.

So you usually toggle between those.

And you can see this region up here at the top; we're not using that when we're scrolling down to the bottom, where you can see the global region that I put in inside the categories column.

And I could easily have put a region in these other two columns as well; it had all been powered by regions.

But you know, just to show you the power of this, you know, I could take an image widget now and upload it there.

And you can see that I have an image there, which, you know, is kind of cool if you're trying to put a widget there.

Or if you're trying to put an image there, I'm going to come down here to Well, let me show you this thing.

First, let me just save and exit this.

Because I actually have an app installed out here.

This is an app that I, or rather, my company, created.

And I'm going to show it to you because it has a widget that I think you guys are going to need.

And this is in the free version of it.

So you don't even have to pay for this.

If I go to Apps, you'll see that I have an app installed called Epic Page Builder Widgets.

And this is available in the App Store; just look up Epic.

And you'll see page-builder widgets.

And when you get it loaded, there are all these additional widget types that you can turn on.

And when you turn these on, they'll show up in your customizer.

So the one that we're going to look at today is called Custom Menu.

But there's a whole bunch in here, all these over here free; these ones are a one-time payment; you get access to all these, so they're still pretty cheap.

Let's go to the storefront.

My themes are customized themes.

Alright, so there's this whole bucket here of the basic widgets that come, and you could, you know, use the HTML widget to really get Cody and code like, you know, an unordered list and put all your classes and everything in there.

But a much easier way is to scroll down here to the widgets that I installed here and look for a custom menu, a custom menu right here, and drag that in there.

And you can see that this is already looking pretty good.

We have three links here.

They are just generic links.

So let's change this to a link.

And this is where you'd put a link; put the actual HTML that is pointing to it, and let's call this link to this is where you would put that HTML link.

Let's call this link for this to be fun.

Now, you can see that it doesn't match the styling of this.

And that's because our widget can't possibly know what your style is.

But what we can do is set an example of that style.

So what we can do is come up here to the website with three dots and go to settings.

And there are some settings in here, including turning this into a horizontal menu, which doesn't make sense in this context.

But if you're using this for a horizontal menu, like at the top, this is a game changer.

Let's come in here and let's decrease the size of these. Maybe around 14 is where they should be.

You can change the size on different device sizes like this, as you can see, so it gives you a little bit of extra control.

I think we need to unbold these to make it look pretty good.

Now, actually, we can do text decorations.

If we change colors we want, we can change the text color to something lighter.

So you can get exactly what you want.

And it looks like we need to reduce the spacing a little bit.

So let's try this bad, decreased margin, which probably needs to be a little bit more.

Actually, maybe not.

Now, it's pretty good.

It looks pretty close.

So yeah, I mean, you can see that you can dynamically create this.

And the nice thing is, once you put your page builder regions in and you have all your columns and your footer created using these widgets, you know, this is not going to be very hard for you guys to come in here, you know, three months from now, when you want to change your footer, your footer links, and just click into that.

Sorry, click into that, and then maybe add two more links, just like that.

Alright, so this has been a couple of different ways to edit and customize your footer. I showed you guys how to hard code, and I explained to you guys that you know what these dynamic menus are and how they are working in there.

So you may be able question learn how to get the right content in your footer without even coding anything.

But chances are, you may have to hardcode some links.

Or you may want to consider doing the Page Builder regions to make it really, really easy to change.

And yeah, it's up to you.

I wanted to show you guys all the different ways I could edit and could think of off the top of my head to edit these.

And you can obviously go a lot farther with custom code, but I showed you guys where to get to it.

So go hog wild.

If you found this helpful, click the like button for me.

And if you guys are interested in joining our community, you could do that. Let's see, join the community.

Join us at JoinEcommerceGrowth.com.

If you guys need a developer for your store, hit me up on Epic Design Labs

And you know I'm always looking for ways to help you guys out. I've done this for 11 years.

I love building million-dollar stores.

I hope that you're the next one.

So if you're stuck on an answer to something, leave me your answer in a comment.

Let me know what you're stuck on.

And maybe that'll be my next video.

Thank you, guys, so much for watching this.

And I appreciate you guys, and I'll see you at the next one.

Thanks