Adding a favicon to your BigCommerce store is a simple, yet essential step to boost your store’s branding and improve the customer experience. In this video, I walk you through the process of creating and uploading a favicon for your BigCommerce store, even if you don’t have a perfectly sized icon ready.
Why is a Favicon Important?
Favicons are the small icons that appear in browser tabs, bookmarks, and other locations next to your website’s title. They help customers easily recognize your store and add a professional touch to your online presence.
If you’re ready to install your favicon or just want to ensure you’re doing it the right way, this video will guide you step-by-step.
Key Takeaways from the Video:
- Navigating to Favicon Upload
(00:35) – Go to Storefront > Logo in the BigCommerce dashboard to find the favicon upload section. It can be tricky to locate, so this step is important. - Required Favicon Specifications
(00:35) – BigCommerce requires a favicon size of 32×32 pixels. Supported formats include ICO, JPEG, GIF, and PNG. - Creating the Icon in Canva
(01:14) – Use Canva to create a 64×64 pixel icon (larger than the required size) and scale it down to 32×32 pixels for upload. Canva’s premium version also offers background removal for icons with non-transparent backgrounds. - Exporting the Favicon
(02:51) – Once you’ve adjusted the size and background, export the icon in PNG format at 32×32 pixels, ensuring it’s ready for upload. - Uploading the Favicon to BigCommerce
(03:28) – Upload the new favicon file in the BigCommerce dashboard, check the preview, and save. Refresh your browser to see it live on your store.
Watch the Full Video for a Step-by-Step Guide
This video covers everything you need to know about adding a favicon to your BigCommerce store, from creating the icon in Canva to ensuring it looks perfect once uploaded.
Full Transcript
(00:01)
In this video, I’m going to show you how to install your favicon in your BigCommerce store. My name is Kal, and be sure to subscribe if you find this helpful.
Alright, let’s go over to my computer and log into a BigCommerce store. Here’s how to upload your favicon:
Click on Storefront.
Then, click Logo (I wish it said “Logo and Favicon” because it’s hard to find the favicon spot if you’re not also looking to install a logo).
In this case, I already have a logo and favicon installed, but I’m going to replace it.
(00:35)
You need to upload a favicon with a size of 32×32 pixels. It can be in ICO, JPEG, GIF, or PNG format.
Most people don’t have the exact size favicon, so what I recommend is using Canva:
Open a canvas in Canva with a size of 64×64 pixels (twice the size required by BigCommerce) because Canva doesn’t allow images smaller than 40×40 pixels.
Once you create your 64×64 canvas, upload your logo.
(01:14)
After uploading your logo, resize it so it fits edge to edge on the canvas, then center it vertically.
This logo I’m using has a transparent background (as it’s a PNG). If you’re using a JPEG, you’ll likely have a white background behind your icon. Canva has a premium feature (about $8 per month) that lets you remove the background if needed.
(02:20)
Once the background is removed and the icon is centered and scaled properly, it’s time to export:
Click Share, then Download.
Leave the format as PNG, and slide the scale down from 64×64 to 32×32 pixels (exactly half the size).
Select Transparent background if you want transparency.
Download the favicon, which will save it in your Downloads folder.
(03:28)
Now, go back to BigCommerce and:
Click Replace Image and select the favicon file you just downloaded.
If this were a production store, I’d recommend renaming the file to something like “yourbrand.png” to keep things organized, but I’ll skip that step for now.
After uploading, you should see the favicon in the preview. Click Save.
(04:04)
To check if the favicon is working, open a new tab. You may need to wait a couple of minutes due to browser caching, but it should show up soon. You can also check it on a different computer to confirm it’s rendering properly.
That’s all you need to do!

Related Resources
View All →
3 ways to Add or Edit a Carousel on BigCommerce
If you’re looking to enhance your BigCommerce store’s design with a sleek carousel or slideshow, you’re in the right place. \[…\]

Add a Free Gift with Purchase on BigCommerce
Looking for a way to boost customer loyalty and increase sales on your BigCommerce store? Offering a free gift with \[…\]
Add Products to the Homepage of Your BigCommerce Store
In this video tutorial, I walk you through two simple ways to add products to your BigCommerce store homepage, helping \[…\]

BigCommerce Sitemaps 101
Are you ready to supercharge your BigCommerce store’s SEO? If you’ve ever wondered about the ins and outs of sitemaps \[…\]

Edit the Newsletter Optin Block on BigCommerce
Are you looking to customize the “Subscribe to our Newsletter” box on your BigCommerce store? In this video, I walk \[…\]
Editing Products via CSV in BigCommerce
Managing products in your BigCommerce store can become overwhelming as your inventory grows, but CSV editing makes bulk updates quick \[…\]

Editing Custom Fields via CSV in BigCommerce
Are you looking to efficiently manage custom fields for your products in BigCommerce? Editing via CSV is a powerful method \[…\]
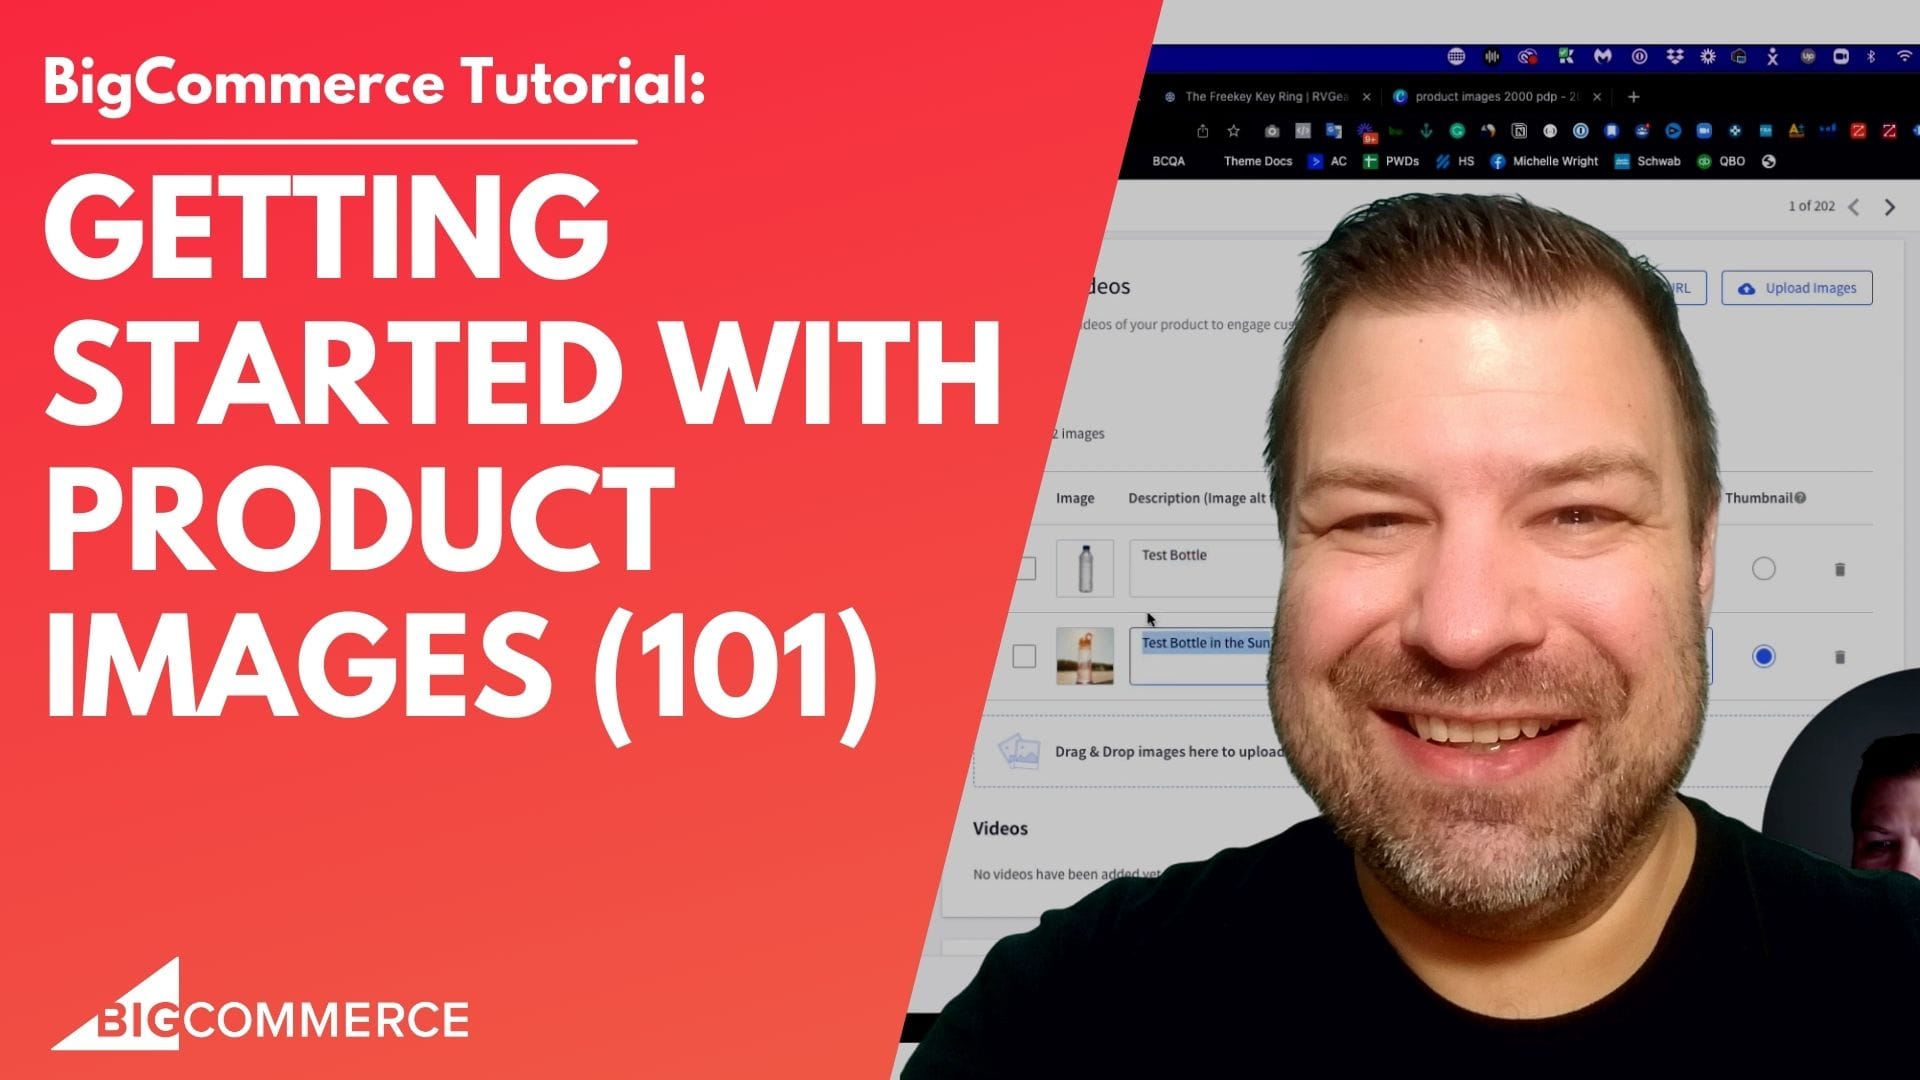
Getting Started with Product Images on BigCommerce
Are you struggling to upload product images to your BigCommerce store? In this video, Kal Wiggins, an ecommerce expert and \[…\]
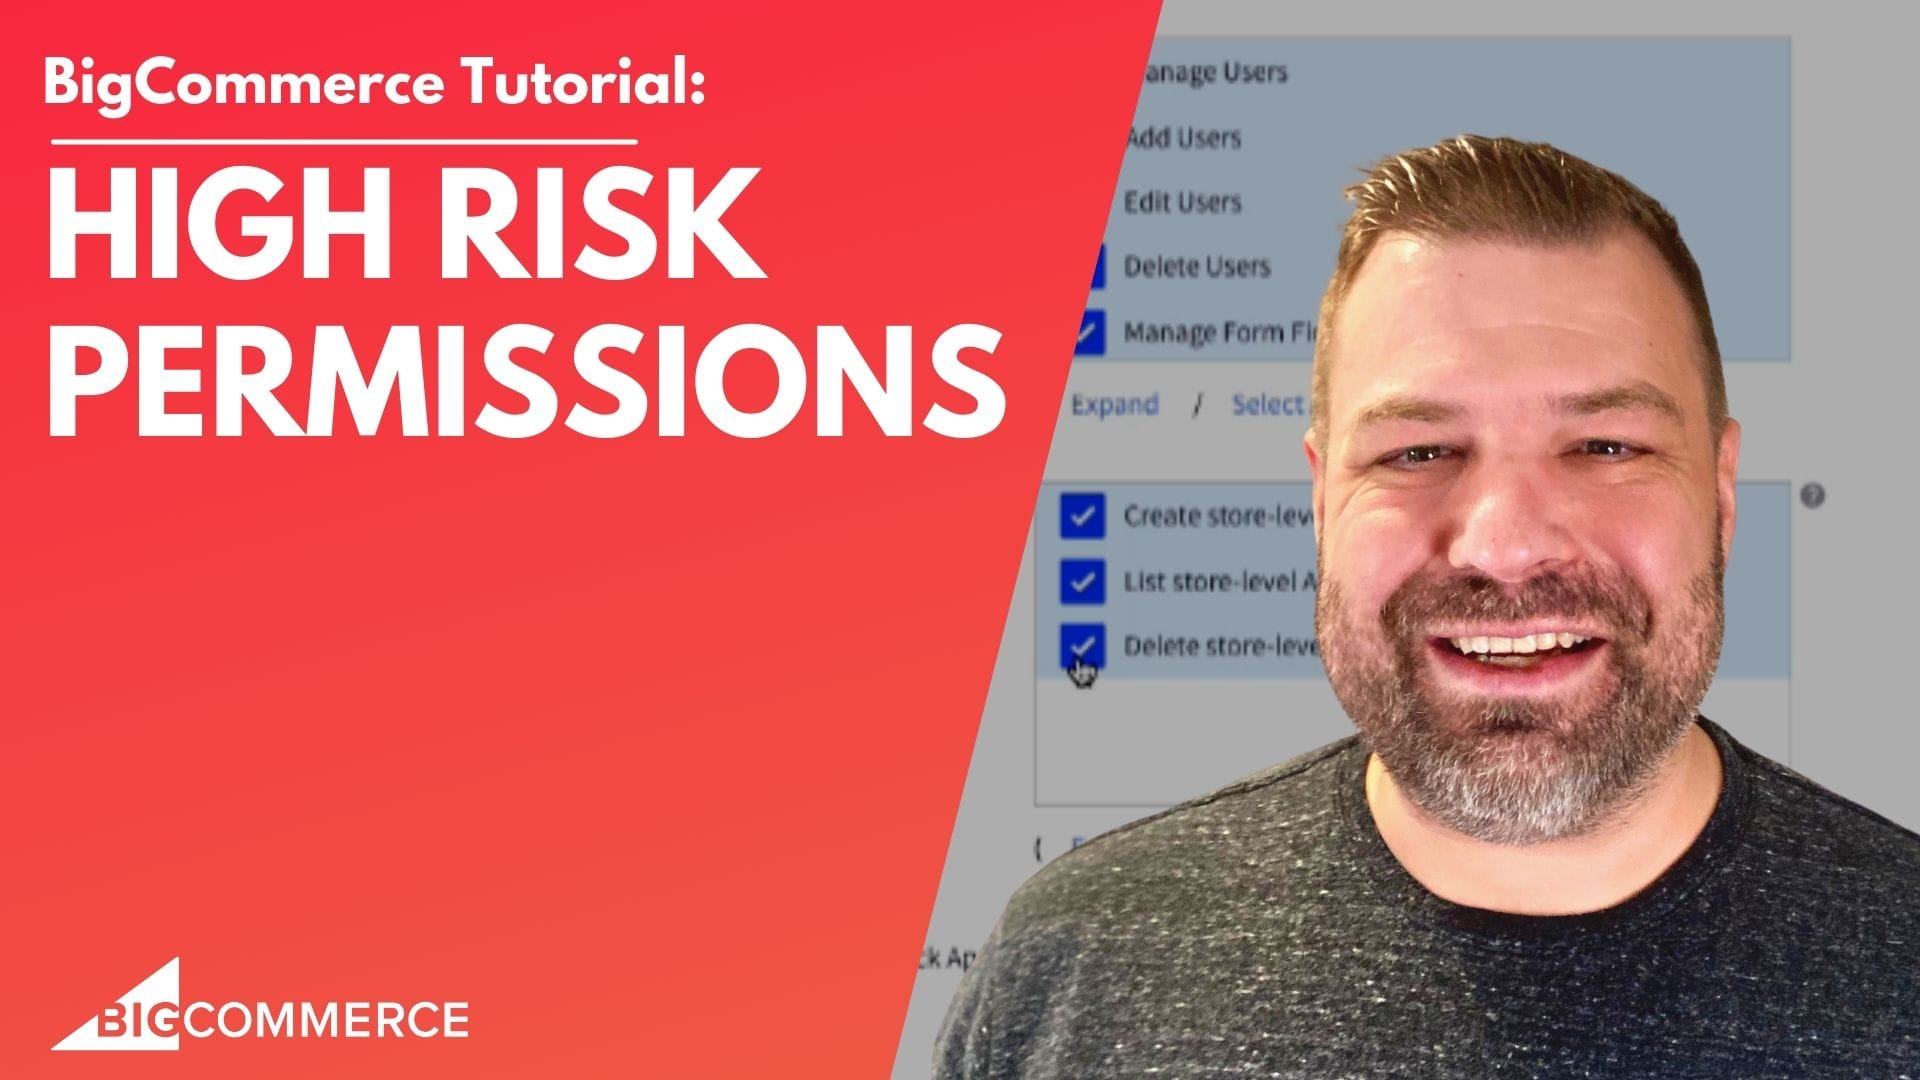
High-Risk Permissions in BigCommerce
BigCommerce has continuously provided merchants with tools to bolster sales staff their e-commerce stores. One of the latest features to \[…\]